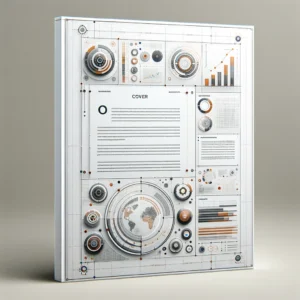
Title page – After learning how to manipulate Cover pages in the first article. Using the cover pages already installed in Microsoft Word can save you a lot of time. But the problem is that you can’t show your personnel touch to them. And since they are free everybody could use those cover pages, therefore the cover you use won’t make you that special. Hence, in this article, we will be learning how to create your personnel title page.
It is good to try and put in some effort to make a thoughtfully designed cover page from scratch. However, it is not that easy. You should have certain skills in graphics and design to make a great title page. But you can also create some good-looking ones using only the tools provided by Microsoft Word.
Using a design or image created earlier
To create a cover page, you will need to follow these steps :
If you know a thing or two about design, and you can create your graphics and shapes elsewhere and save it as an image. It is going to minimize the work done using Ms word :
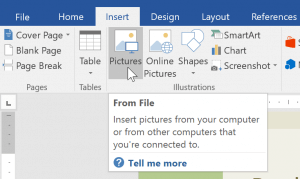
- Upload the image to Ms word: Insert > Pictures.
- Change its length and width so that the image fills the whole page.
- Add text zones that will contain the information of the report. Insert>Text box and choose Draw Text Box.

A good title page should contain the following information:
- Title.
- Subtitle.
- Author.
- Author’s Title.
- Company Name/Logo.
- Date of Completion/Submission.
- A Brief Description of the Report.
Building a cover page from scratch with Ms word
Set your margins
To do that you need to go to Layout(In Word 2013 and 2016, click the Design tab instead of Page Layout.) then choose Margins .
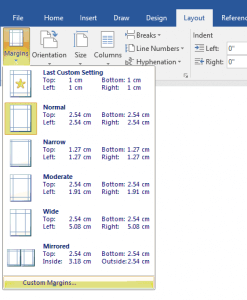
You can choose from the ones given. Or click on Custom Margins, you will get the following window where you can choose the measurements manually :
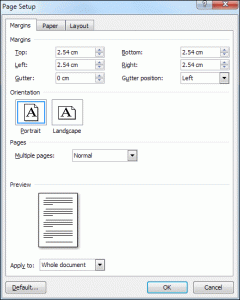
Choose your contours
To set a border for the cover page, go to the Page Layout/Design tab. Locate the Page Background panel and click on Page Borders :

This window will appear :
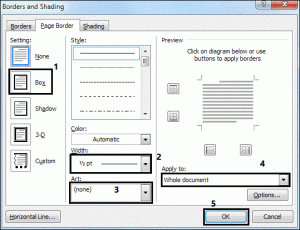
- Click on Box.
- Choose the width you want.
- Pick the borders style.
- Make it Apply to: This section.
- Click OK.
Decorate with shapes and colors
Microsoft word offers you a large list of shapes that you can use to decorate your cover page. Just go to Insert>Shapes and get started.
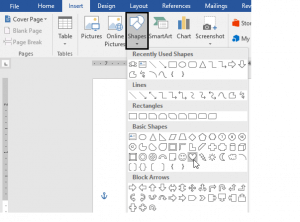
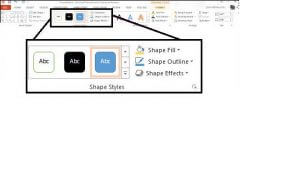
You can also change the colors and effects of shapes using the Shapes Styles panel.
Add text boxes
As we have already seen you need to add text boxes and fill them with the proper information.
Saving your cover page
After you complete building your cover, its time to save it. when it comes to saving your work there are multiple ways to do that:
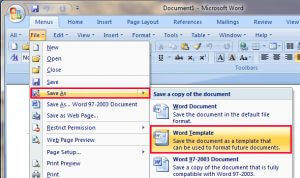
- First, you can save this document as a Microsoft Word template. To do that you need to go to File > Save As > Microsoft Word Template. A window will pop to make you save it in a location of your choice.
- Second, you can go ahead and:
1- select every thing on that cover page you created by pressing CTRL + A .
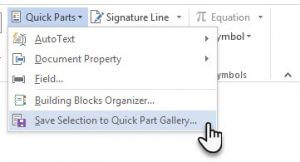
2- Add these selections to the Quick Parts gallery. Go to Ribbon > Insert > Quick Parts . Then select from the drop-down Save Selection to Quick Part Gallery… .
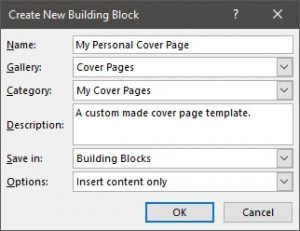
3- Finally, enter the details in the dialog for a new Building Block. Building blocks are reusable Microsoft Word elements that you can add to any of the galleries available in Word. Finally, press OK.
- The final way of saving is more or less similar to the second. Instead of using Quick Parts, select the entire page and Go to the Insert tab and pull down the Cover Page gallery. Scroll to the very bottom and click the ‘Save Selection to Cover Page Gallery…’ option.
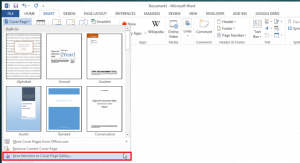
The cover will now appear in the Cover page gallery under the category you saved it to.
now you learned how to create a cover page with you costum preferences
please browse our ready to use cover pages:
-
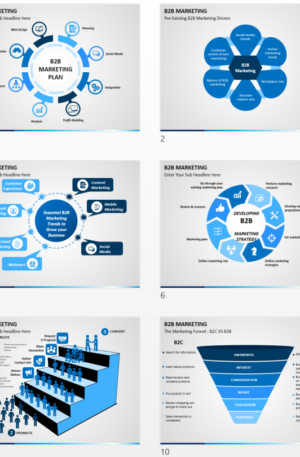
 B2B Marketing Presentation$ 0,00
 -
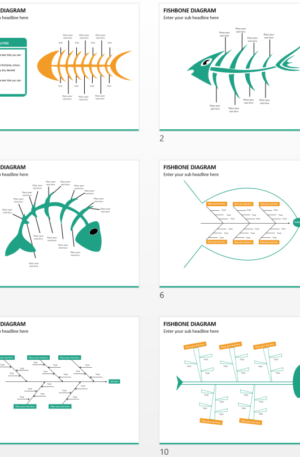
 Multicolor Fishbone Diagram PPT$ 0,00
 -
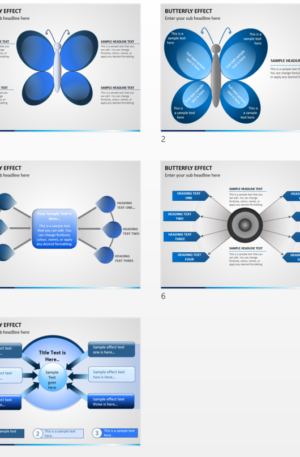
 Butterfly Effect Presentation$ 0,00
 -
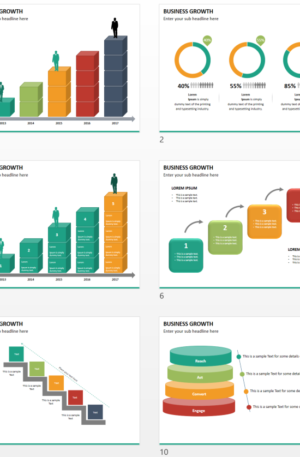
 Multicolor Business Growth$ 0,00
 -
 Blue Architecture Presentation$ 0,00
 -
 Multicolor Capacity Building$ 0,00
 -
 Multicolor Vertical Timeline$ 0,00
 -
 Multicolor Circular Timeline$ 0,00
 -
 5 Abstract Cover Page Bundle$ 0,00

